
These techniques were learned from a web-based tutorial courtesy of the Creative Arts Workshop. Learn more about CAW and their programs: http://creativeartsworkshop.org/. This was another experiment done while working from home, but repeatable in the studio or lab space.
Book cloth: What is it?
Book cloth is a cotton-based fabric with a protective backing of either paper or plastic used to cover the case of a book. Sometimes the fabric itself is starched to give it a rigid structure, making it easier to lay flat without any wrinkles, while other times it has a weatherproofing coating like pyroxylin or acrylic, which gives it a slight sheen on the surface. Book cloth can be dyed, printed on, or hand painted. The most common term for 100% cotton heavyweight fabric used in bookbinding specifically is Buckram. Ideally the book cloth covering material is durable, and easily wiped clean from debris and dirt, and resistant to some liquids. With these traits, it’s an ideal surface material for books with routine use such as library materials.
Bespoke Book Cloth
While we often opt for the book cloth supplied by our binder or conservation suppliers, when I learned that book cloth was simple enough to make with supplies in our studio, I had to give it shot! Very rarely do we need to replace the entire cover of a book, but by learning this technique, it would make patching or recreating the surface material much easier.
Tale of Two Fabrics
I started with two different fabrics in order to best understand the technique: a patterned cotton and an unbleached muslin, which I dyed with a diluted acrylic paint. Each would serve a different learning goal: 1) for a full re-casing, and 2) for creating patches to covers that suffer losses or damage. For each of these tests, I used the following:
Supplies
- Prepared wheat starch paste
- Fabric cut to approximate size needed for project; this should ideally be a cotton or cotton blend so that it has some structure but flexibility, and so that the paste can adhere to the surface easily
- Japanese tissue paper, cut larger than the fabric by at least 1″ on all sides. Medium-light weight paper works best, but not so light that it tears easily when damp.
- An iron and ironing surface
- A spray bottle with water
- A scrap piece of cloth/rag
- Paste brush
- Masonite or Coroplast for the work surface
Where possible, the materials used in both experimental trials and actual repairs are often scraps, off-cuts, or reclaimed materials in effort to maintain a sustainable practice and limit our contribution to waste. You’ll see things like re-used glass jars or plastic canisters — even the Masonite board was reclaimed from another unit in the library.
Process


After amassing the supplies and finding a flat, manageable space to work in my house, it was time to experiment! I used scraps from other projects including a piece of vintage fabric originally cut to make bell bottoms in a blue and yellow paisley – groovy. I used a spray bottle with filtered water (distilled is better if you have it) and lightly moistened the fabric. Using the cotton setting on my iron, I pressed out all the wrinkles, making sure to do both sides of each piece of fabric. Then I sprayed the verso sides (the ‘bad’ side) with water and stretched them flat and left to dry while I worked on the next step.
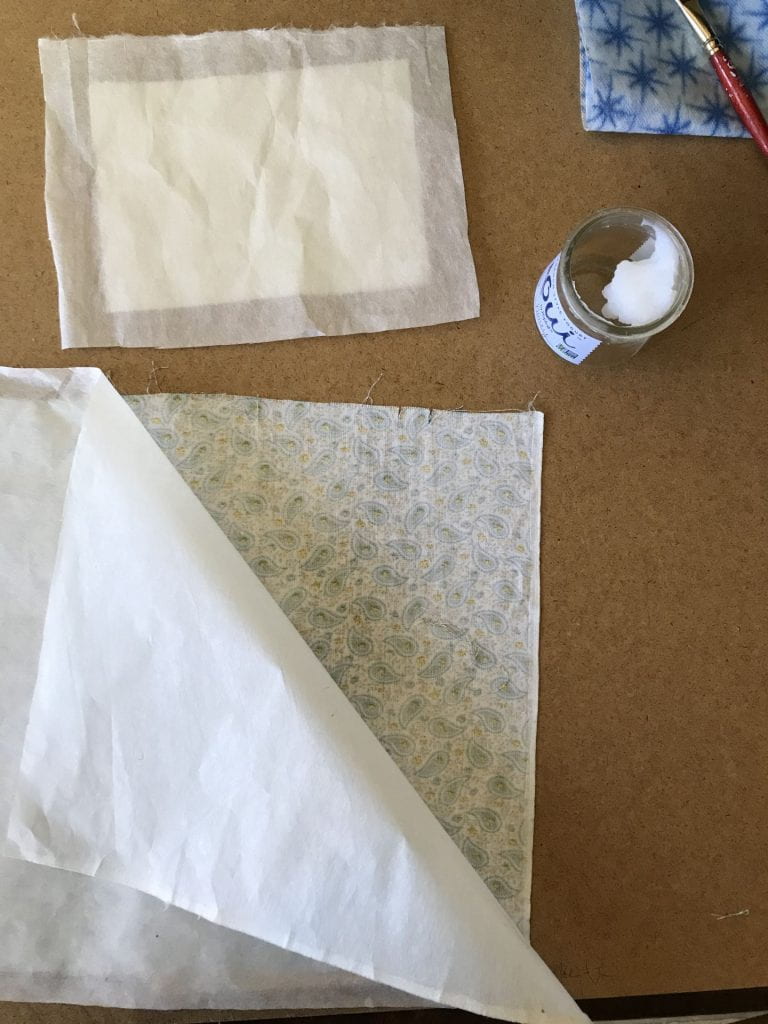


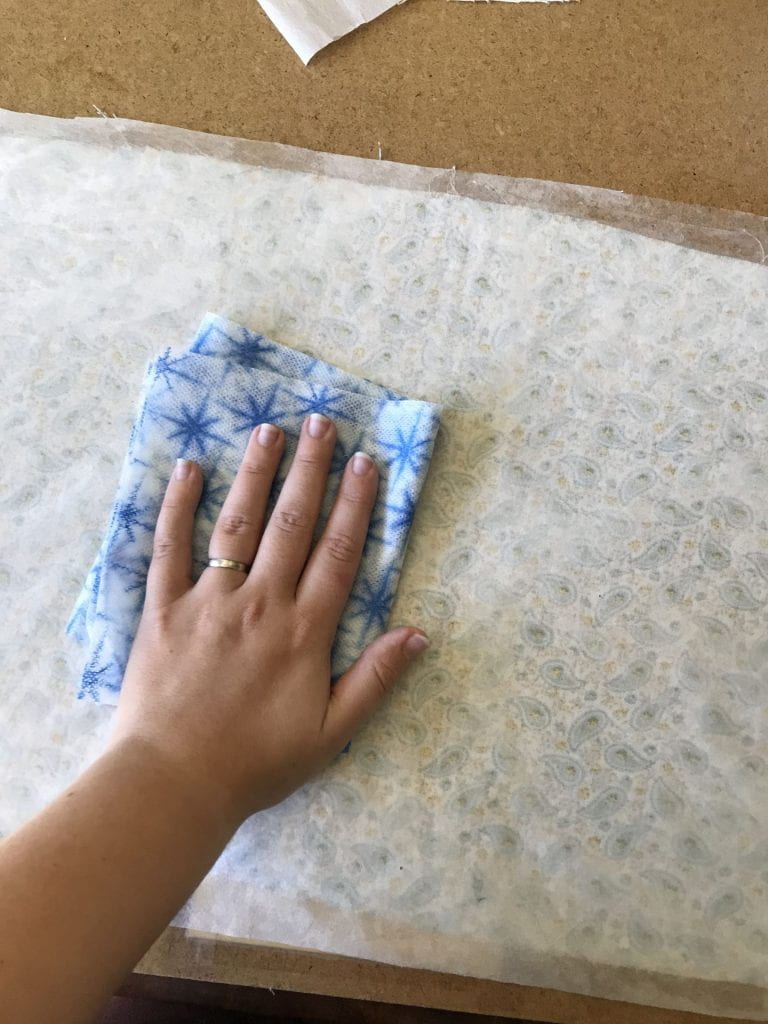
The next steps involved lining up the fabric and paper grains. These are easy to find or determine if you have a selvedge edge, which both my pieces did. I just arranged them so the two selvedge edges were parallel. Then I used the wheat starch paste to create a thin, even layer of the paste onto the rough side of my Japanese tissue paper. Working from the center outward to the edges, I worked to ensure that the entire surface had this layer of paste (which you can see from the middle image, is surprisingly sticky). The advantage of the paste is its slow and consistent drying time. It even allowed me to remove the paper liner after I affixed it and noticed a piece of rogue thread. After pasting the surface of my paper, I lifted the paper by the top two corners and gently rested it, paste-side down, over the ‘bad’ side of the fabric. It was then that I noticed the rogue thread and adjusted my paper lining. I smoothed out the pasted lining with my rag to ensure that there were no air bubbles.

The final step for this larger piece of book cloth was to attach a small strip of paper to one side and paste only the outside edge of the paper liner. This extra step is used to ensure the liner and the fabric dry evenly and flat along all the edges. Then I flipped the fabric and liner over so that the good side of the fabric was upright and the small strip of paper protruded – this strip is used to lift the lining off the board. I smoothed and flattened the edges as best I could and left it to dry!

For the second test, I dyed a portion of my unbleached muslin cotton fabric with a diluted solution of acrylic. I chose red so I could really see if there was any bleed through from the paste or if it dried in a different way because of the pigment.
For this fabric I did not iron it after dying it but still tried to have it lay as flat as possible prior to lining. I followed the same exact steps as the first, larger fabric and left it to dry on the same piece of masonite board. After only a few hours, both pieces were dry enough to handle and lift off the board. For larger pieces or more saturated fabrics, the suggested drying time is 24+ hours. I’d say it also depends on where you’re working and how humid it is in your space.

Conclusion
This process took very little prep time overall and the only limiting parameter for the studio or lab would be the access to an iron. The manipulation of materials, the process, and the potential use of the book cloth make this a very viable option for not just an organization’s lab but also the home bookbinder. The lack of a sealant on the fabric means that it isn’t waterproof, which might be the main thing holding it back for our needs, especially the red-dyed fabric. I’ll test these fabrics in a future project to see how they hold up against the most common issues circulating books face: water, dirt, and abrasion.