Pamphlet binding is one of the easiest forms of bookbinding and highly accessible for most people who want to make a simple journal or sketch book.
The Basics
Pamphlet binding involves very few steps, but the pattern of sewing changes depends on the size of the pages being sewn. Ultimately, pamphlet binding can only be done for small volumes, less than 100 pages ideally, since the pages need to be sewn as a single signature. The thicker the volume the less likely it will stay folded together tightly. It works well for smaller proportioned volumes as well, making it perfect for journals, sketchbooks, and pocket planners.

Supplies
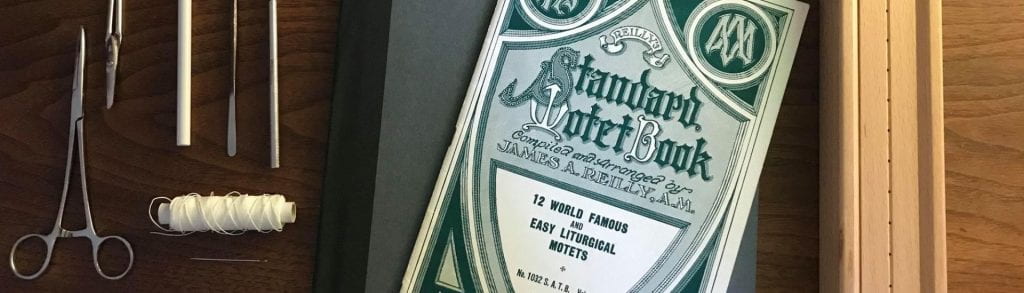
- Binder or Cover materials: thicker than paper being bound
- Awl
- Needle with large eye
- Cotton Thread of a neutral color
- Punch Cradle
- Scissors
- Pages to bind
Getting the Sewing Pattern Right
The trickiest part of pamphlet binding is sewing in the correct pattern. The pattern slightly changes depending on the height of the volume. Regardless, the number of holes to sew must always be an odd number: typically 3, 5, or 7. In this example, I’ll be using 5 holes which creates a secure hold for most sizes. Below you can see a schematic for the 5-hole pattern, which should begin and end from the inside of the center hole.
Sewing
First you punch the 5 holes along the spine of the book, from the center of the signature down through into the spine of the covers/binder. There should be a hole in the center and 2 on either side of the central hole, evenly spaced away from each other. See the images below for reference.
Next is to measure the length of thread needed: 3.5x the length of the furthest holes on the spine. The length is important to get right, because if it’s not long enough you’ll run out of thread before it all ties up and too long will result in a lot of wasted thread.
Starting from the inside center hole, pull the thread almost all the way through to the outside, leaving a short tail (enough to tie at the end). Move to the lowest hole and sew into the center. Move up to the hole directly above the center hole and sew out to the spine. Move to the hole directly below the center hole and sew into the center. Move up to the topmost hole and sew outward. Finally sew into the spine at the center hole. The center hole is the only one to be sewn through two times. The result should have the two ends of the thread meeting from the inside to be tied. Tie the loose ends tightly but not so tight that you rip the pages. Trim the thread.


The last steps for us, is to safely remove the corroding staples. If starting with unbound pages, you obviously won’t need to follow these steps, but it’s good to know how to safely remove staples regardless. Staples that corrode/rust can leave imprints of their damage for years to come and the rust leaves an unpleasant tone to the paper. By using a flat micro-spatula, lift one side of the staple to a 90* angle and the same with the other till you have what looks like an ‘unstapled’ staple. Be sure not to tear the paper at the crease with the spatula, which can happen because the crease is the weakest part of the paper. Flip to the outside and use the spatula to lift the bar out. Repeat with all staples. This case had 3 and all were easy to lift but were also covered in rust. Brush out any rust dust and the project is complete!


